How To Use Google Indexing API In Blogger Or WordPress In 2023
How To Use Google Indexing API In WordPress And Blogger For Instant Indexing Without Using Any Plugin Within 1 Minute - A Beginner Guide
Google Indexing API is a free resource or method provided by Google to its users. It allows users or website owners to immediately notify Google about the addition, update, or deletion of any page. This allows Google to schedule pages for a fresh crawl or instant indexing, which can lead to higher-quality user traffic. According to Google, this method can only be used to crawl pages with either JobPosting or BroadcastEvent embedded in a VideoObject. But it’s working 100% perfectly with other types of websites also.
In order to use Google Indexing API for your website, you need to have some programming background. Sacred? Don’t worry I have a solution for you. In this article, I will demonstrate how to use the Google Indexing API in Blogger or WordPress, or in any website for instant indexing for free without writing a single line of code.
WordPress allows users to use various plugins to increase the functionality and user experience but on the other hand, Blogger does not support these kinds of features and you can only use what Google has offered. For example, RankMath provides a plugin Instant Indexing for WordPress users.
We will see the complete step-by-step process on how we can use Google Colab to use Google Indexing API and notify Google of any changes in our web pages for instant crawling.
Major Steps
- Get the Google Indexing API access key
- Add Service Account ID as an Owner in Google Search Console
- Use Google Colab and send the crawl requests for Instant Indexing
1. Get the Google Indexing API Access Key
The API access key is the authentication method and Every call to the Indexing API must be authenticated. For example, while logging into your email account you provide a username and password as the authentication.
1.1. Create a New Project and Enable the Google Indexing API
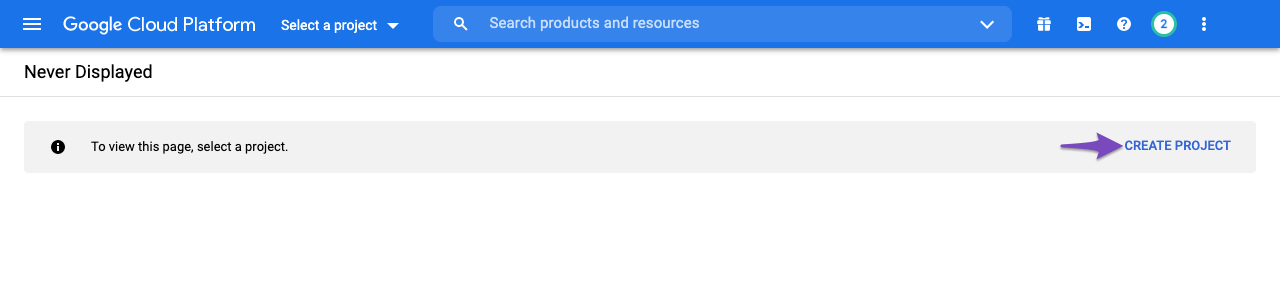
Go to Google Cloud Platform, if you don’t have any projects selected or you are using it for the first time, click on “CREATE PROJECT“.
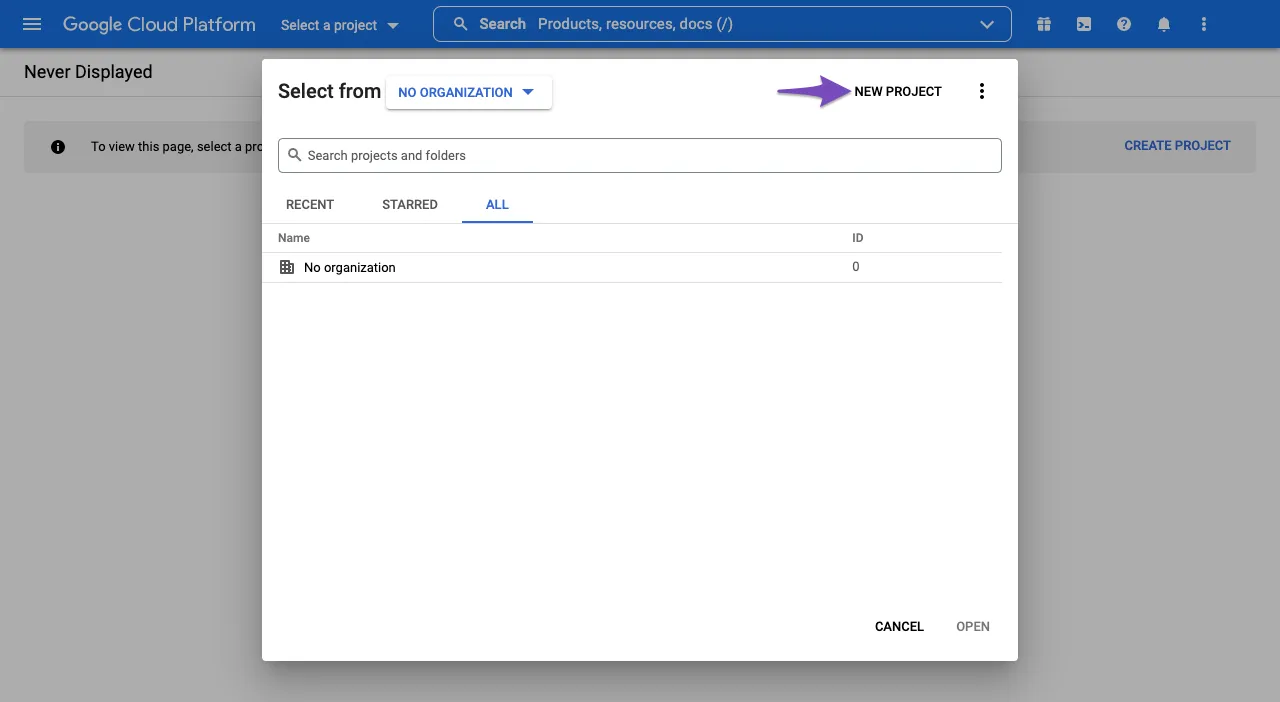
If you have any projects already selected, you can click on the Select a project drop-down and choose New Project from the popup that appears on the screen.
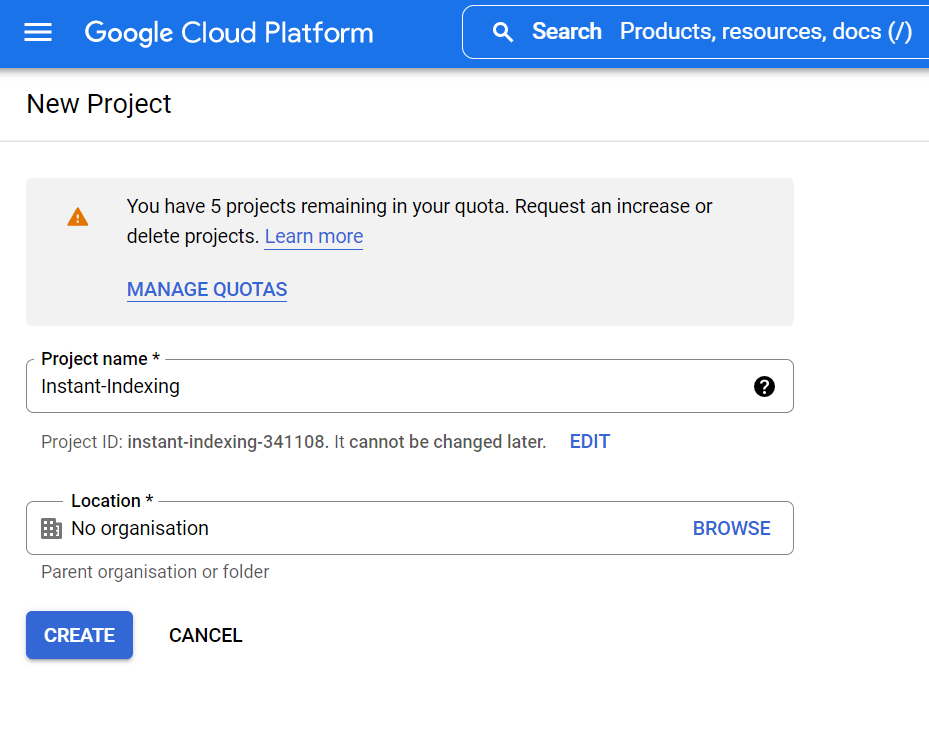
Next, enter a project name that you can recognize or remember later. And then click Create.
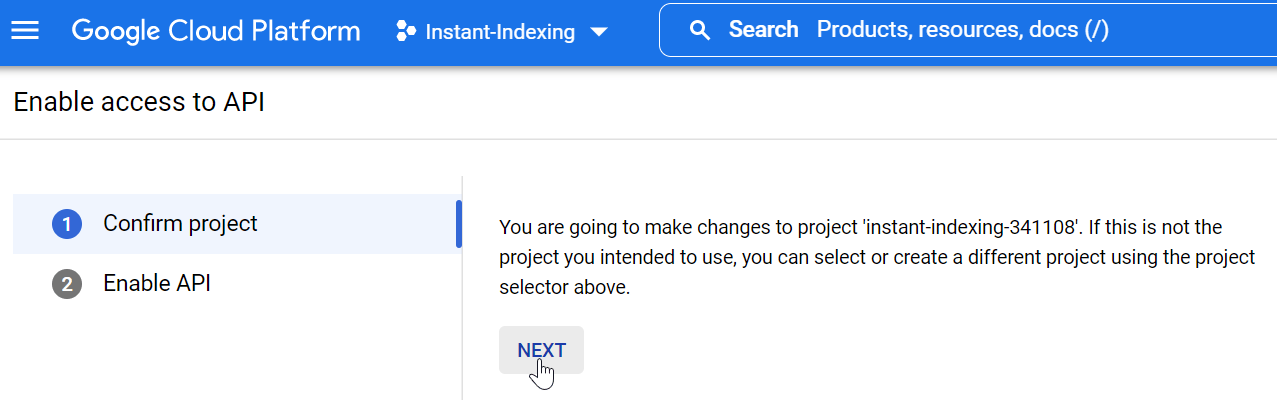
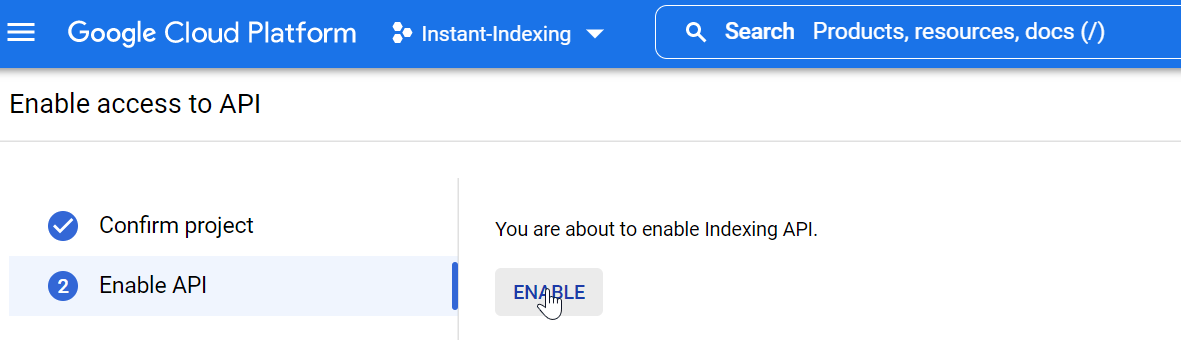
After you have created a project, you’d need to enable the project to access the API. In the next step, click on the Enable followed by clicking on Next.
After confirming the project, click on ENABLE.
1.2. Create a New Service Account and Download the API Access Key
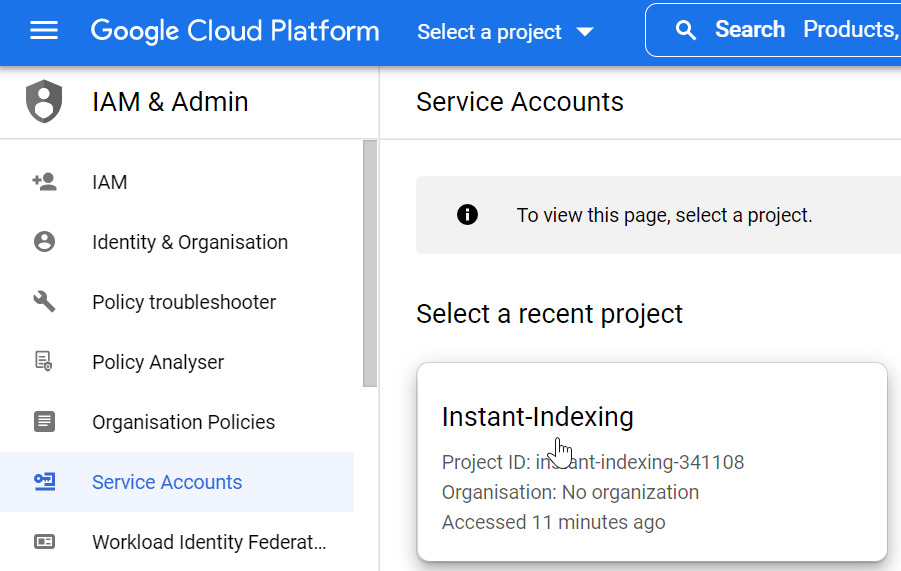
Go to Service Account by opening this page. Select the project from the available project lists. In our case, Instant-Indexing which we have created in the previous step.
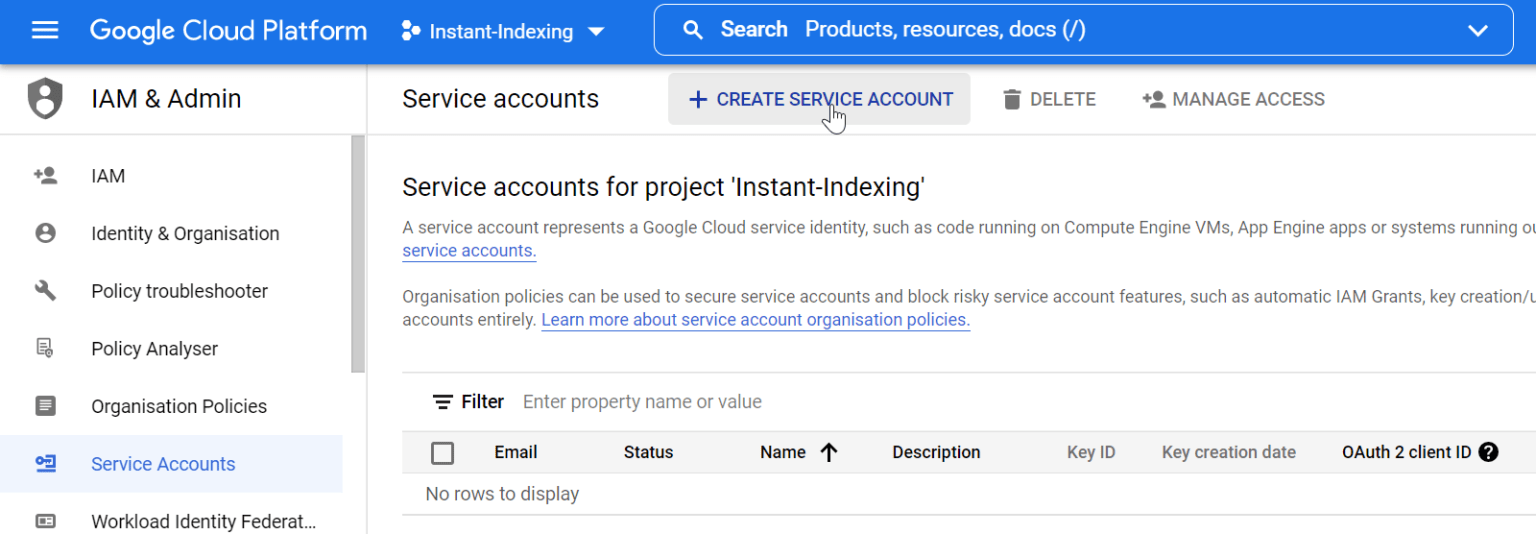
In the next step, click on CREATE SERVICE ACCOUNT.
Provide the service account name and description (optional) in the next step. Then click on CREATE AND CONTINUE.
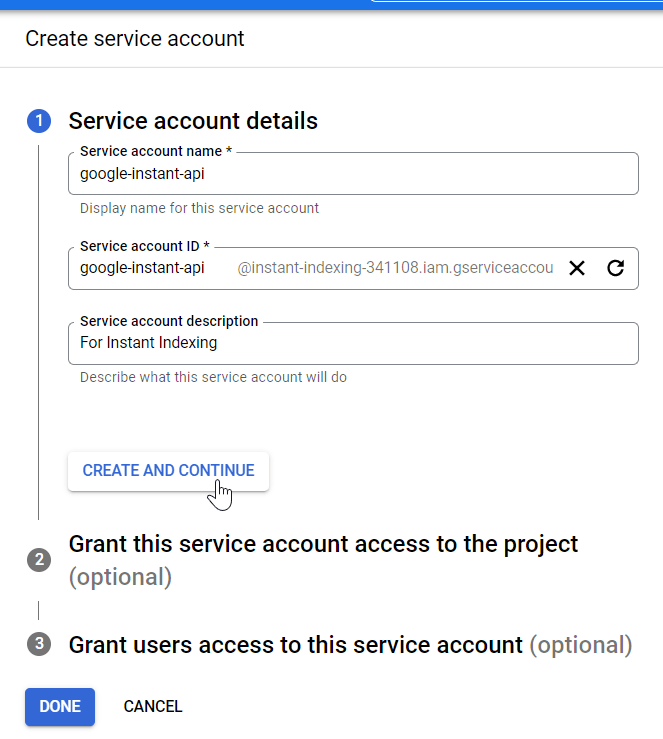
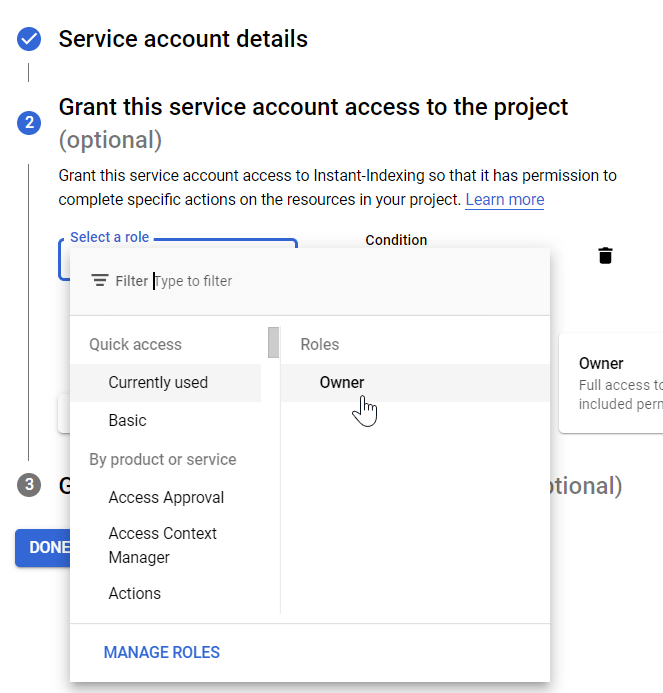
Assign Owner as Roles for the Service Account and finally click on DONE.
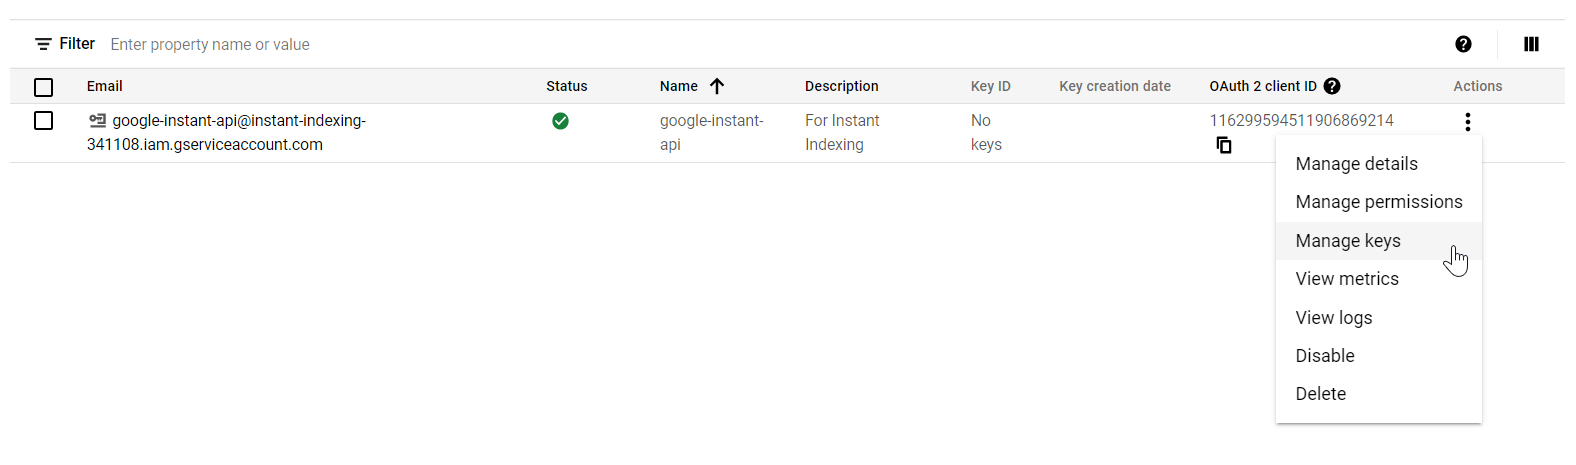
After clicking on DONE, in the next step, go to Manage Keys by clicking on Actions (three dots).
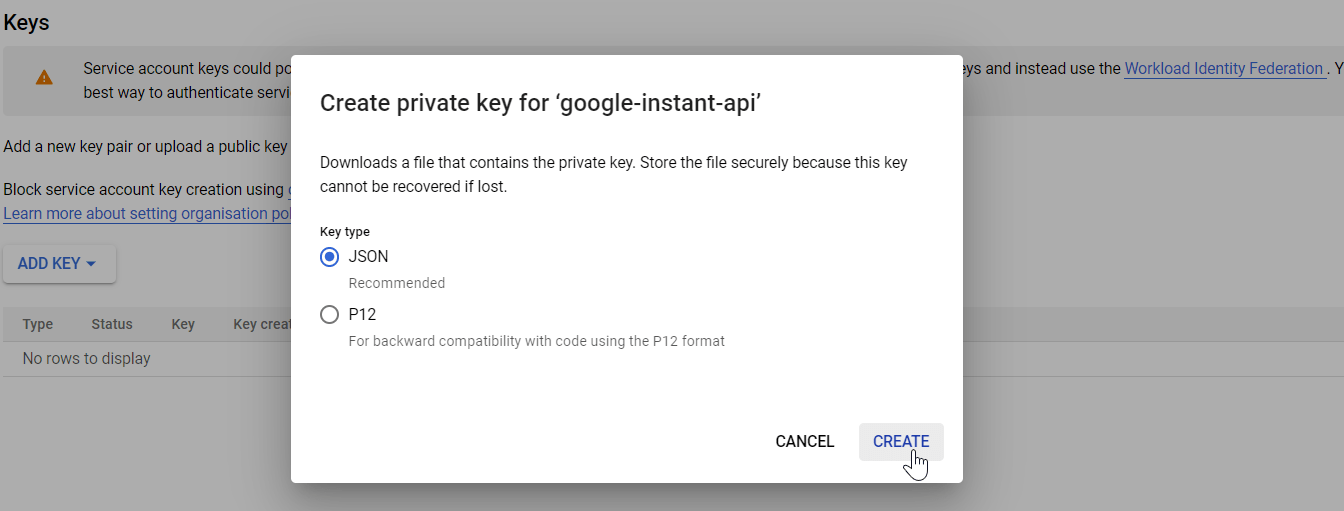
Next, click on ADD KEY and then Create new key.
Click on JSON as key type and click on CREATE. Your key will be downloaded.
After creating the Google Indexing API Key, go to details and copy the Service Account Email ID.
2. Add Service Account ID as an Owner in Google Search Console (GSC)
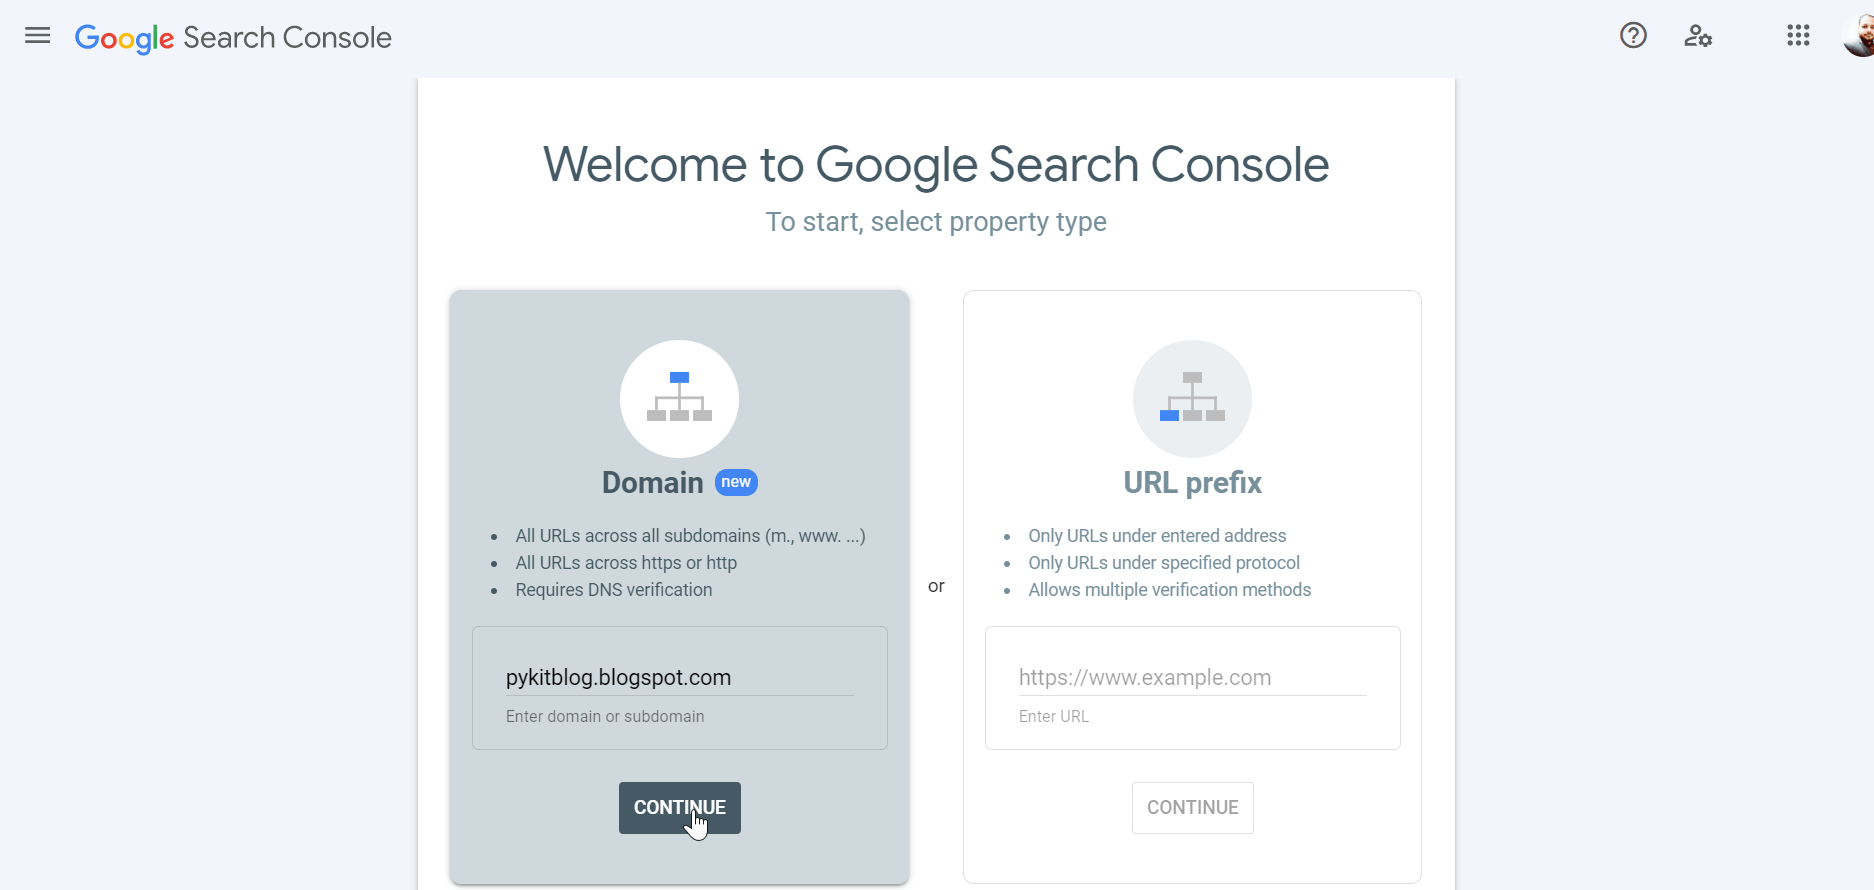
Go to Google Search Console, then ADD your website address (without www or HTTPS/HTTP) as property. Please note, you have to use the same email id using which you have created the blog.
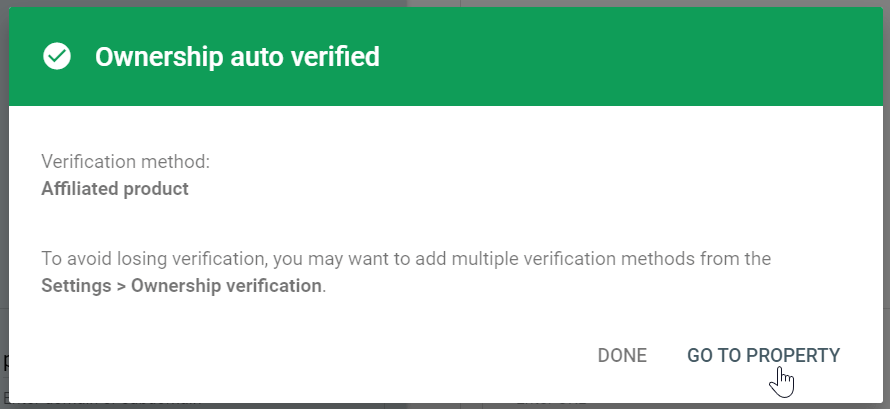
After clicking on CONTINUE, Google will verify your website ownership. Once verified, click on GO TO PROPERTY.
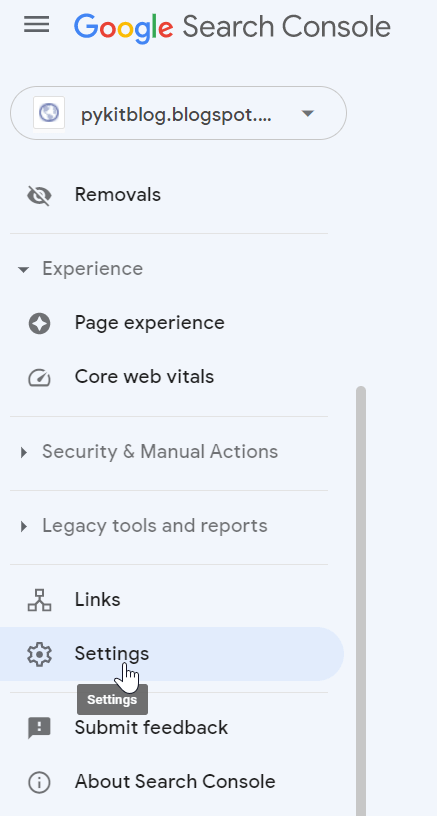
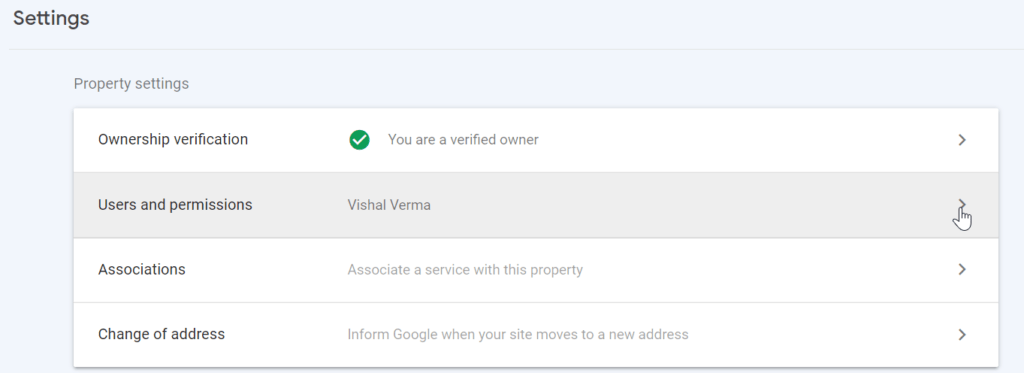
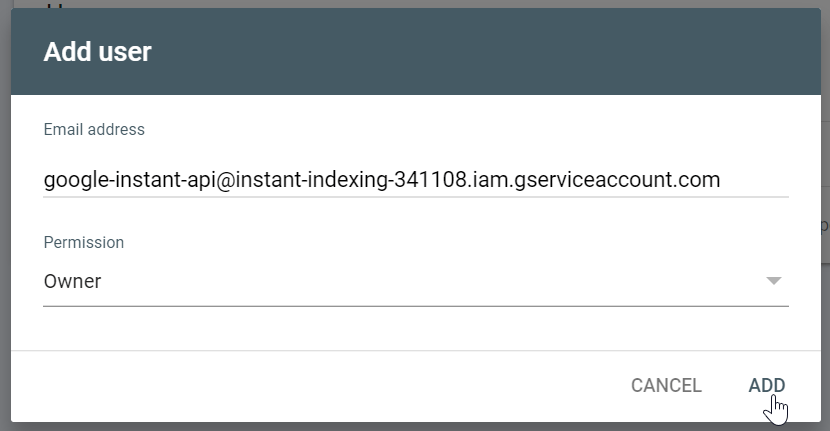
Click on Settings > Users and permissions > ADD USER > Add the Service Account ID and Provide Owner in Permission > Click ADD

Now that we have created our Service Account for Google Indexing API and configured Google Search Console. It’s time to use the downloaded API key and send the request to Google for Instant Indexing.
3. Use Google Colab and send the crawl requests for Instant Indexing
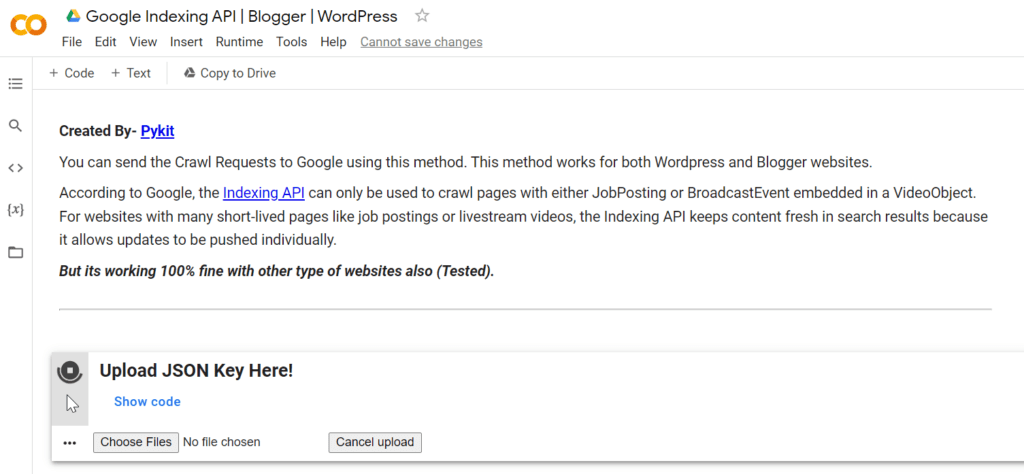
3.1. Open Google Indexing API colab notebook and sign in using your Google account
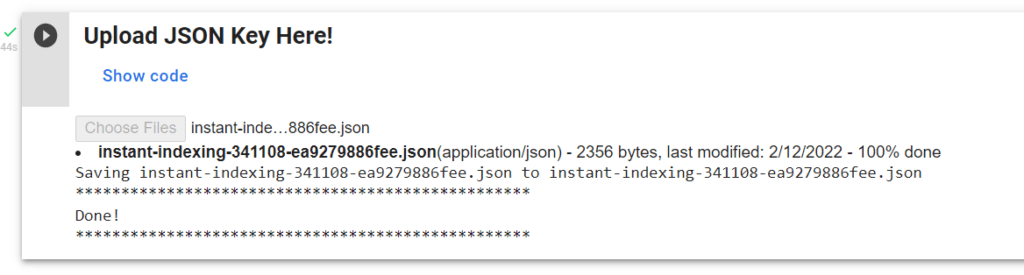
3.2. Click on the Execute button with Upload JSON Key Here!
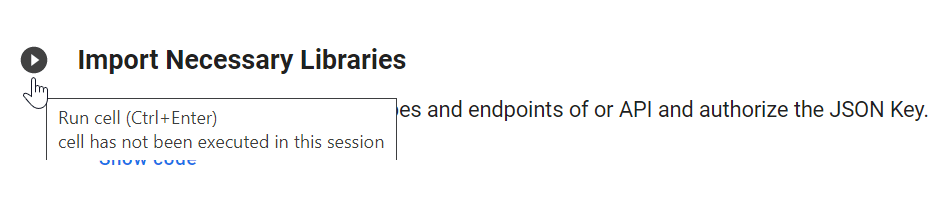
3.3. Import Necessary Libraries by executing the cell
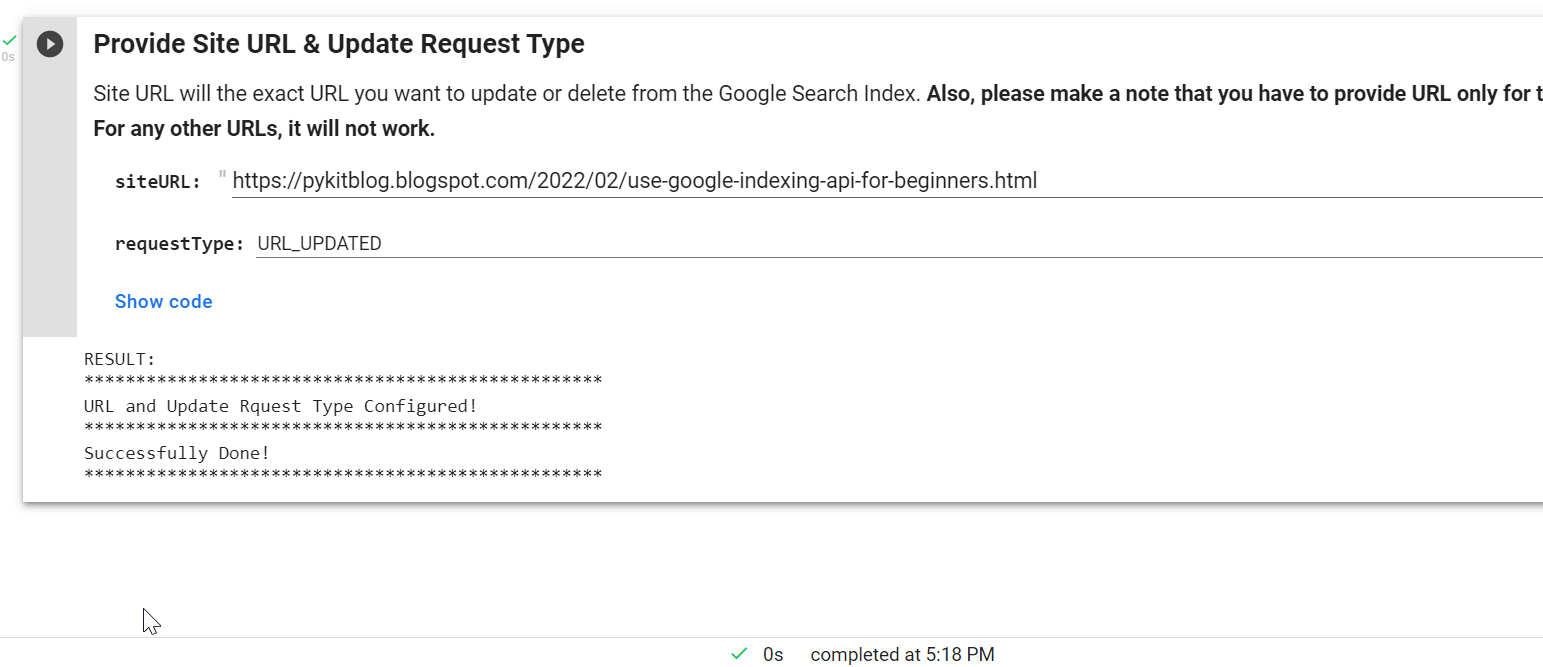
3.4. Add the Website URL and then select the Request Type (URL_UPDATED/ URL_DELETED) and execute the cell

Surprising Result! The unexpected result is here. Using the Google Indexing API, it’s done within a minute (only 45 seconds).
Please note, that using Google Indexing API for Instant Indexing does not guarantee that your content will be indexed. It’s a method using which you can call Google Crawler to crawl your website or any specific page. Only Google Crawler will decide whether your content will be indexed or not.
Upload JSON to Google Drive: No Need to Re-Upload the Google Indexing API Key Everytime You Connect to the Notebook
Steps
- Connect Google Drive using Google Colab Notebook
- Upload the JSON API Key (Only a one-time process)
- Provide the PATH of the API Key
- Use the Google Indexing API
1. Connect Google Drive using Google Colab Notebook (as shown below)
Once, you execute the above cell, Google will ask for your permission, please ALLOW to proceed.
2. Watch This Video To Upload the JSON API Key (Only one time process)
3. Provide the PATH of the API Key
Please provide the PATH you have copied after uploading the JSON API key into Google Drive (as shown in the previous step/video).
Click on the execute/play button to execute the cell.
4. Last Step Is To Use the Google Indexing API
In this step, you have to Add the Website URL and then select the Request Type (URL_UPDATED/ URL_DELETED), and execute the cell as shown in the below image.
The above method is successfully working with Blogger Websites. You can also do it for other sites also. All the above steps will remain the same.
Github Link– Google Indexing API For WordPress And Blogger For Instant Indexing.
Summary
In the above article, we have successfully able to set up a Google Service Account and added the Service ID to our Google Search Console. Then we used the Python programming language using Google Colab Notebook to update the URL of our demo blog. The result was amazing as it only took 45 seconds for Google to crawl our new demo blog. In the end, we have also learned about how to connect Google Colab with Google Drive and upload the API JSON key to the drive.